Let’s explore the fascinating world of nail art. Nail art is not just a beauty statement but also a form of self-expression and creativity. It’s a trend that has evolved over the years, offering endless possibilities to adorn your nails in unique and eye-catching ways. From the elegance of simple designs to the boldness of intricate artistry, nail art can reflect personal style, mood, or even commemorate special occasions. In this guide, we’ll delve into 20 diverse nail art ideas, each with its own charm and technique.
Whether you’re a beginner eager to experiment or an experienced nail enthusiast looking for new inspiration, these ideas are designed to spark your creativity and enhance your nail art skills. Let’s embark on this colorful journey and explore each nail art idea in detail, providing you with a palette of options to adorn your nails in stunning ways.
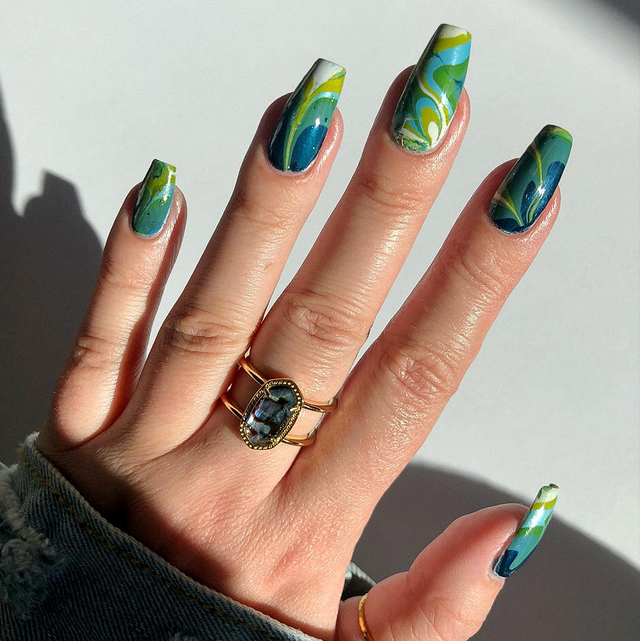
Marble Effect
This technique typically involves dropping nail polish into water to create a marble pattern, then dipping your nails in. Alternatively, you can use a thin brush to swirl different colored polishes directly on the nail, creating a marble-like effect.
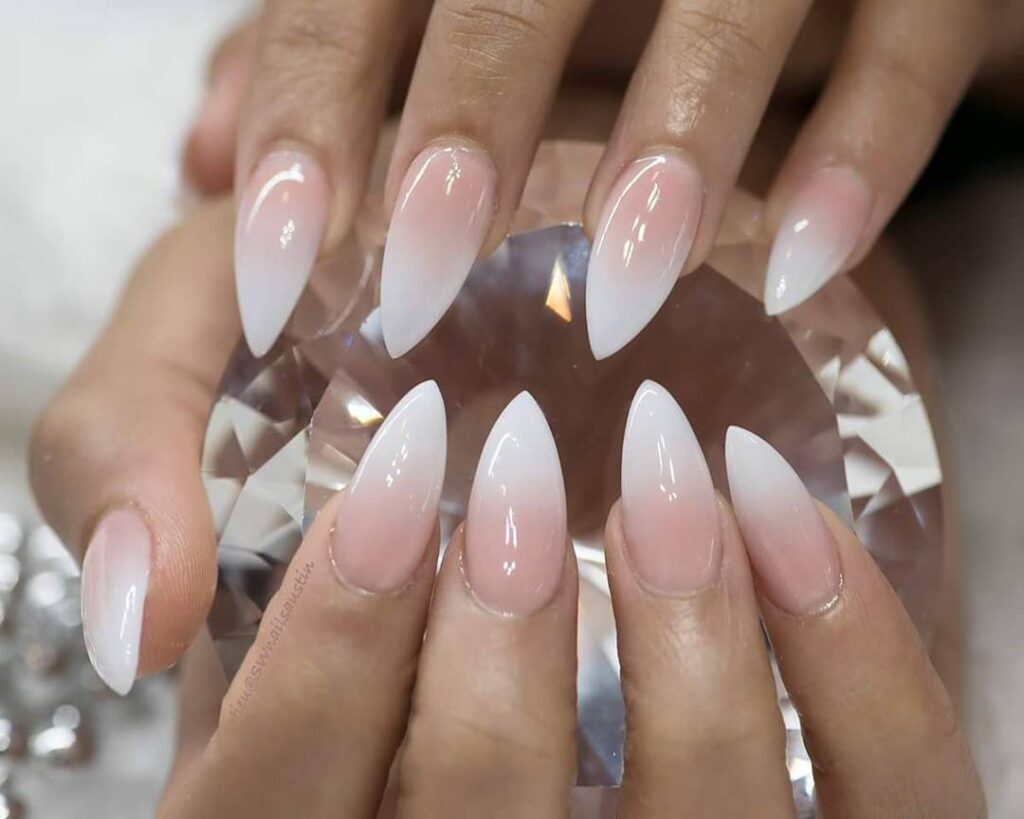
Ombre Nails
Start with a light base color. Then, using a small sponge, dab on a gradient of colors, blending them where they meet. Finish with a topcoat to smooth out the texture.
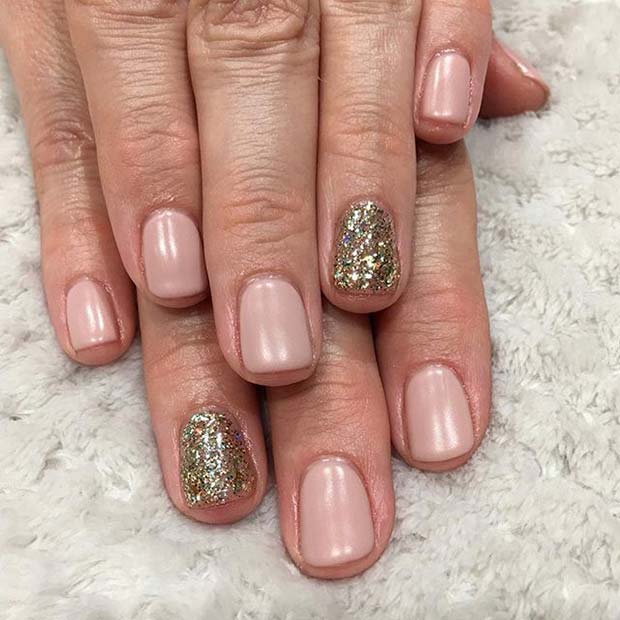
Glitter Accents
Apply a base color and let it dry. Then, apply glitter polish to the tips or as a featured design on an accent nail. You can create a gradient effect with the glitter fading into the base color.
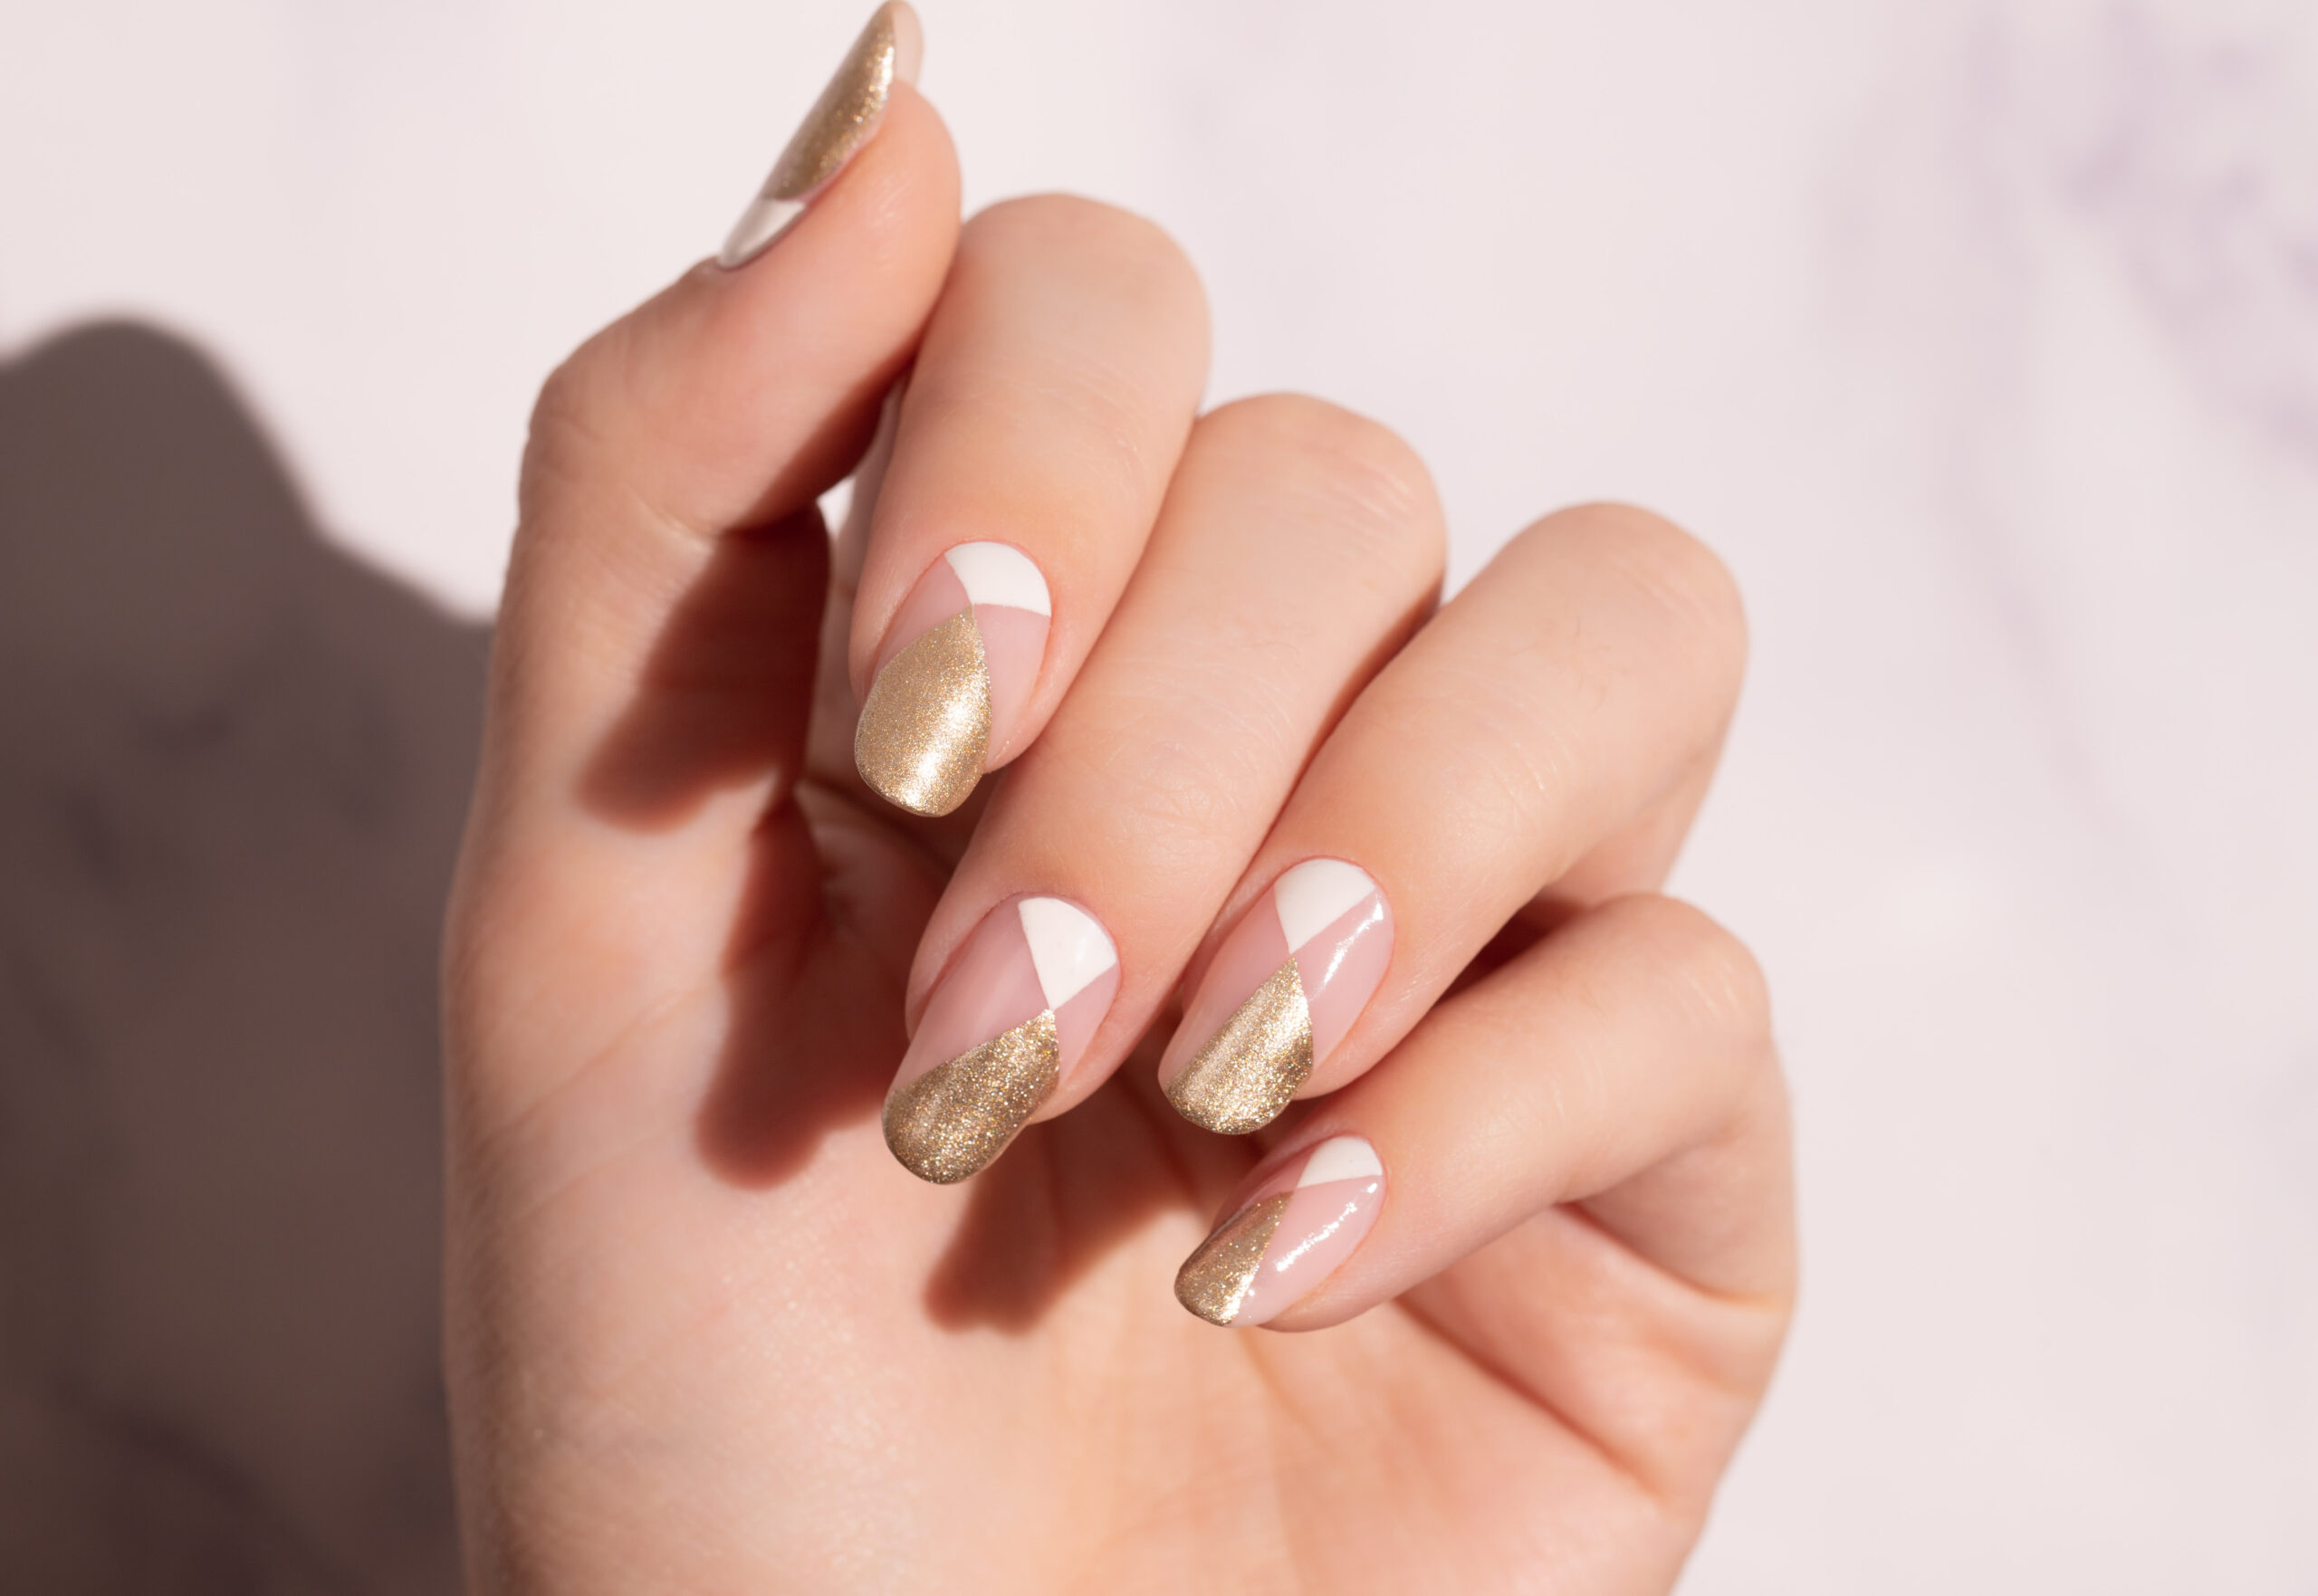
Negative Space Design
Paint your nails with a clear base coat. Then, use tape or stencils to block out areas and apply polish in the exposed sections. This creates a design incorporating the natural nail.
Floral Patterns
After a base coat, hand-paint small flowers using a thin brush, or apply floral decals. This can be as simple or as intricate as you like, with an option to add small dots or lines to represent leaves and stems.

Geometric Shapes
Use striping tape to create sharp, geometric patterns. Apply different colors in the segmented areas, then carefully remove the tape.

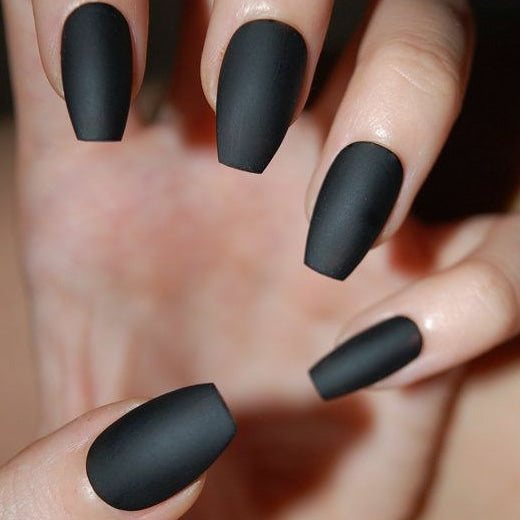
Matte Finish
Apply your desired color and let it dry completely. Finish with a matte top coat for a non-glossy, modern texture.
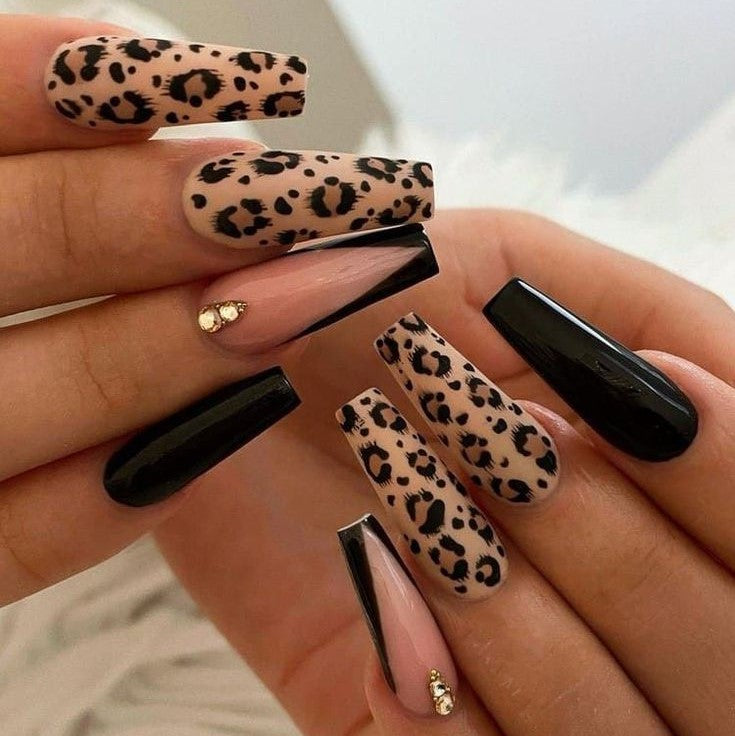
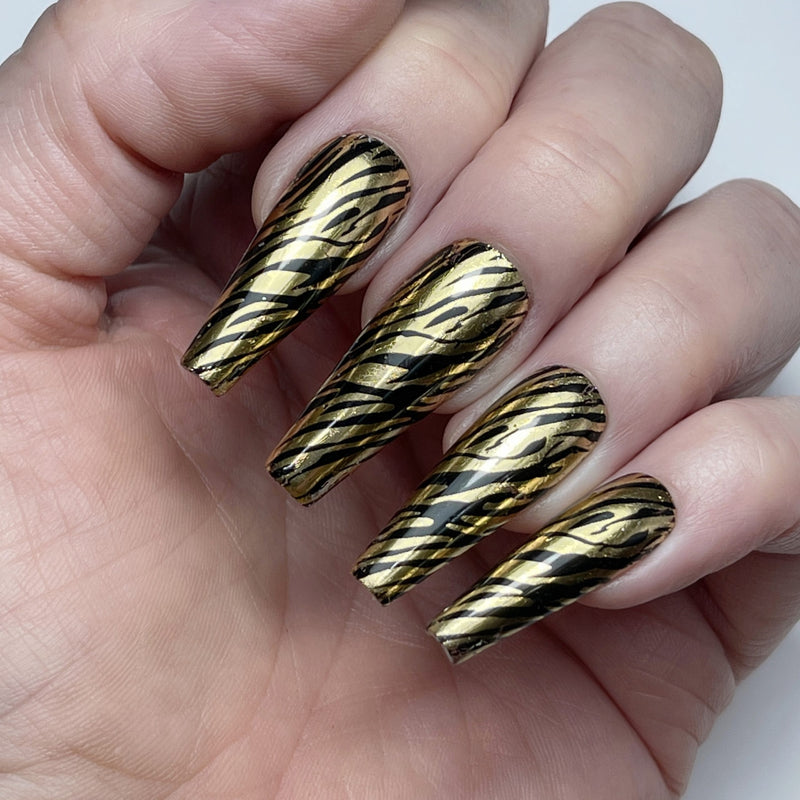
Animal Print
Choose a base color and let it dry. Then, use a small brush or dotting tool to create animal print patterns, like leopard spots or zebra stripes, in a contrasting color.
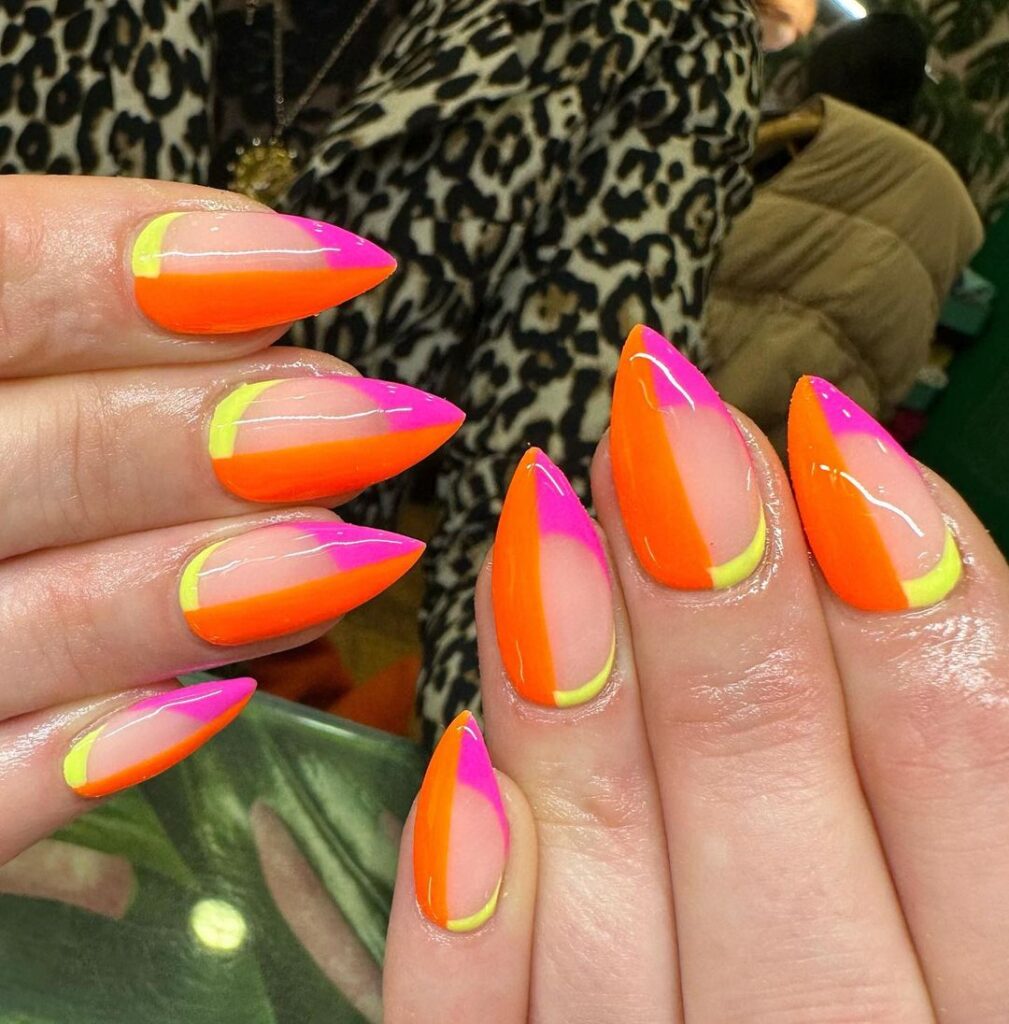
Neon Colors
Apply a white base coat to make the neon colors pop. Then, apply your chosen neon polish. These colors are great for summer and make a bold statement.
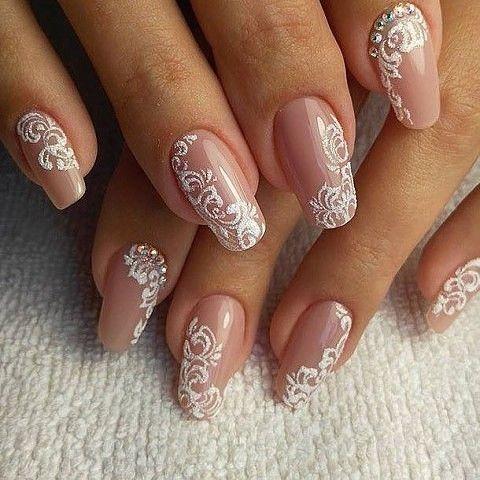
Lace Detailing
Paint your nails with a base color. Then, either use a thin brush to draw lace patterns or apply a piece of lace as a stencil before painting over it.
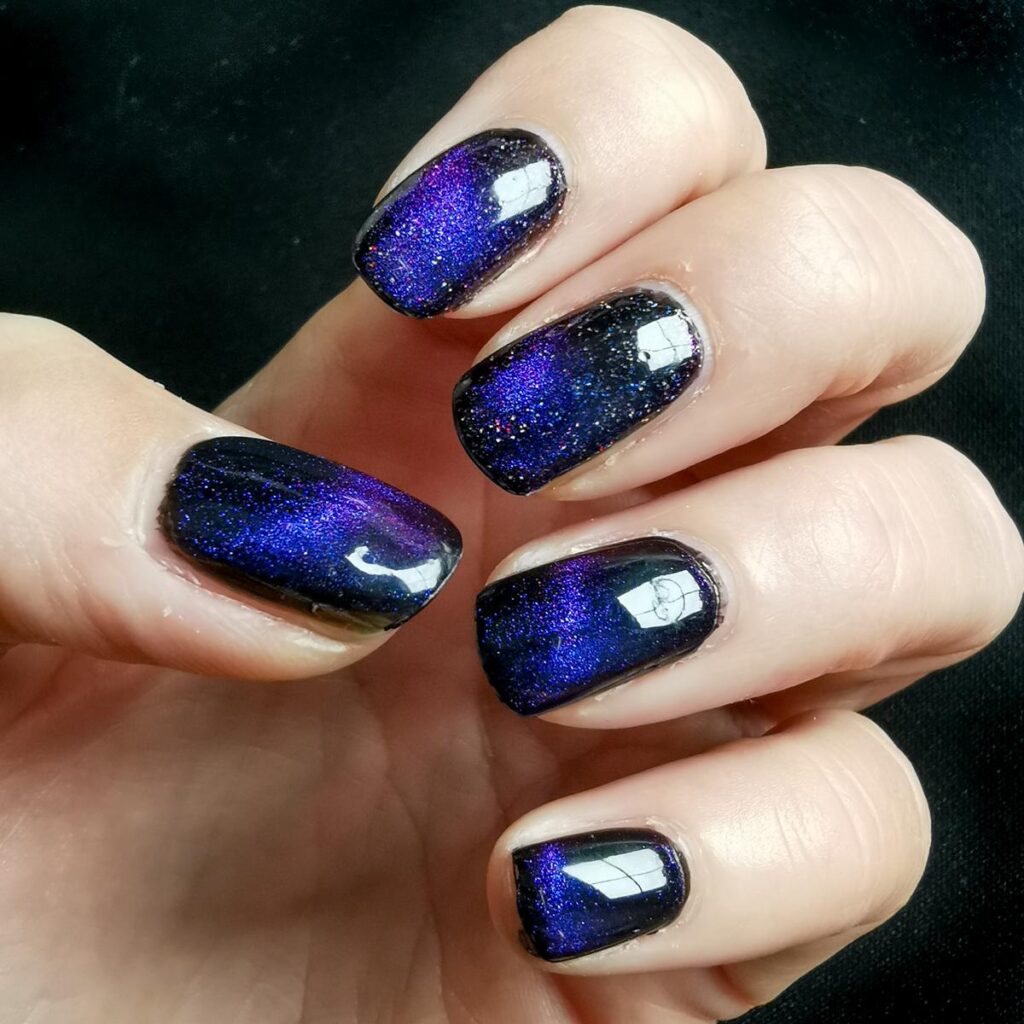
Galaxy Nails
Start with a dark base color, then sponge on lighter colors like blue, purple, and pink. Dab small dots of white for stars. Finish with a glitter topcoat for extra sparkle.
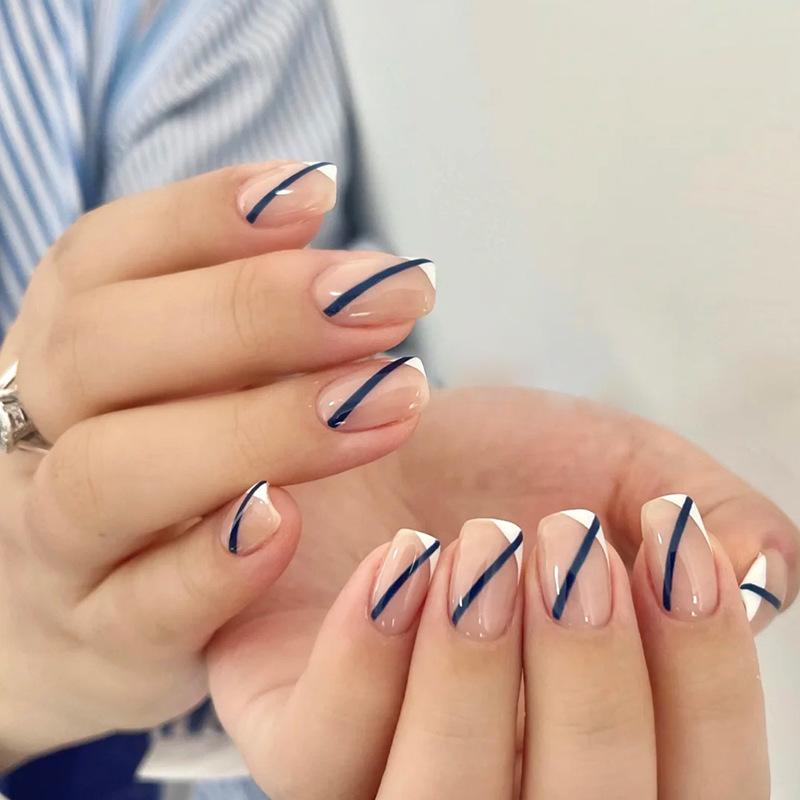
French Manicure with a Twist
Instead of traditional white tips, experiment with different colors, glitter, or even ombre tips.
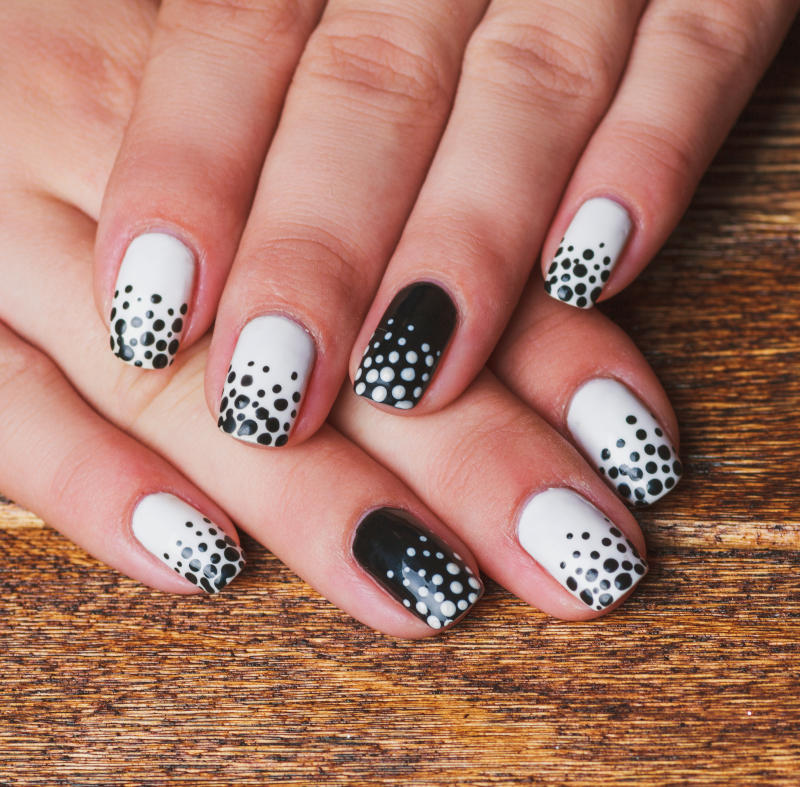
Polka Dots
Paint your nails with a base color. Once dry, use a dotting tool or a bobby pin to create dots in a contrasting color.
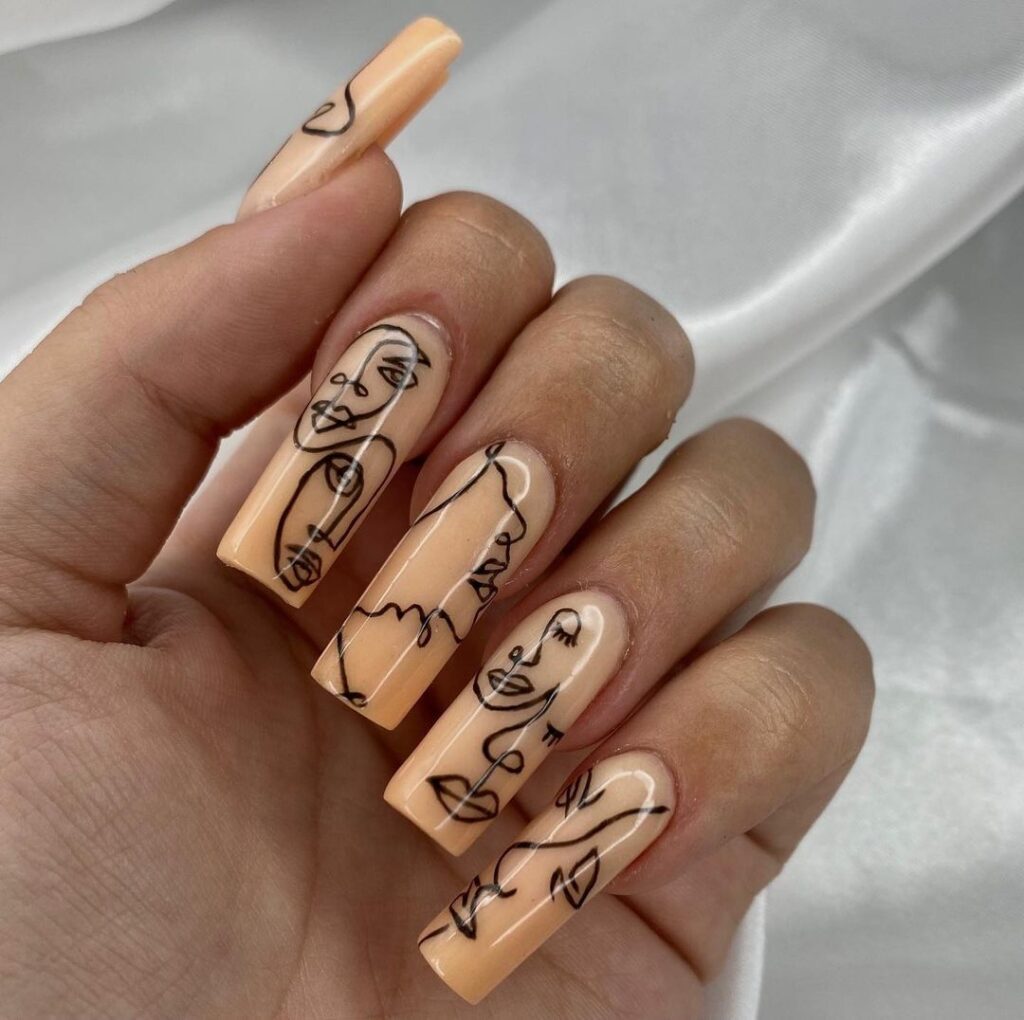
Abstract Art
Let your creativity lead with freehand designs. Use various brushes to create strokes, dots, and shapes in multiple colors.
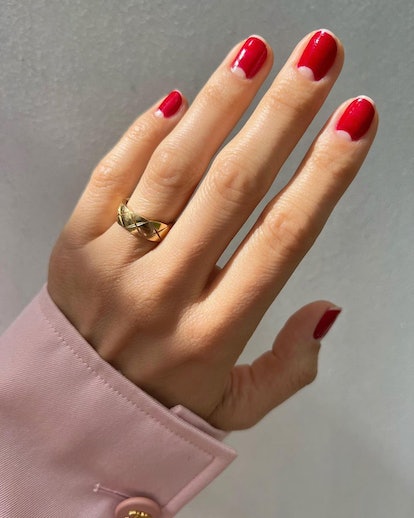
Half-Moon Manicure
Paint a base color, let it dry, then use circular stickers at the nail base to create a half-moon shape. Paint the exposed nail in a contrasting color.
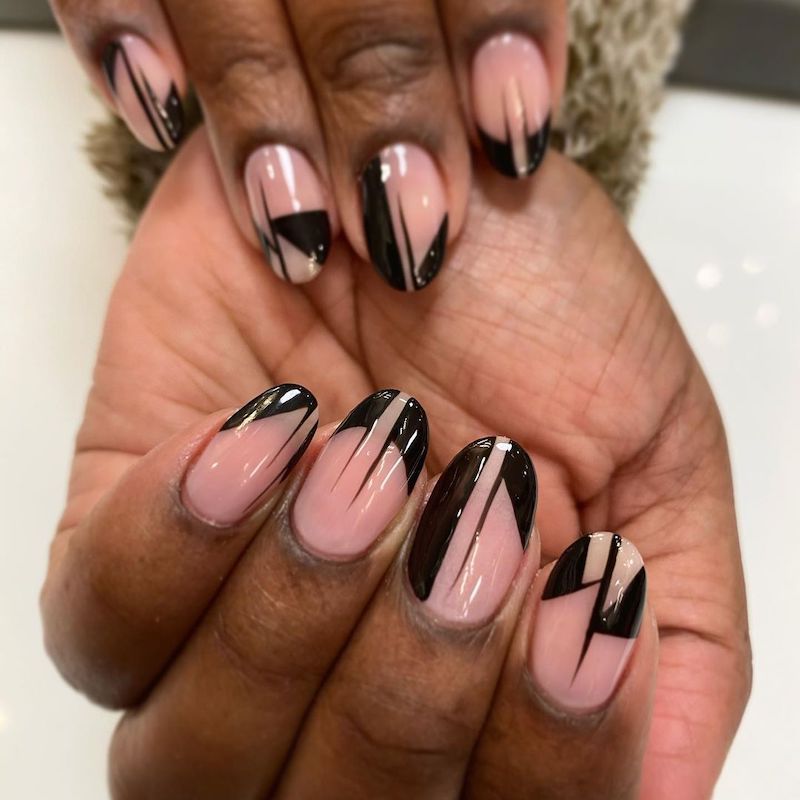
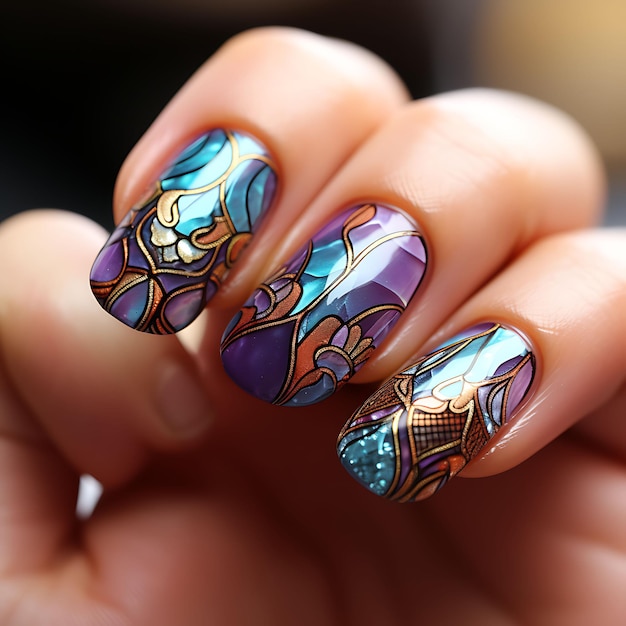
Stained Glass Effect
Paint your nails with a translucent or clear base. Use a thin brush to draw black lines dividing the nail into sections, then fill each section with a different color.
Metallic Stripes
Apply a base color and let it dry. Place striping tape in straight lines or patterns, then paint over with a metallic polish. Remove the tape to reveal the design.
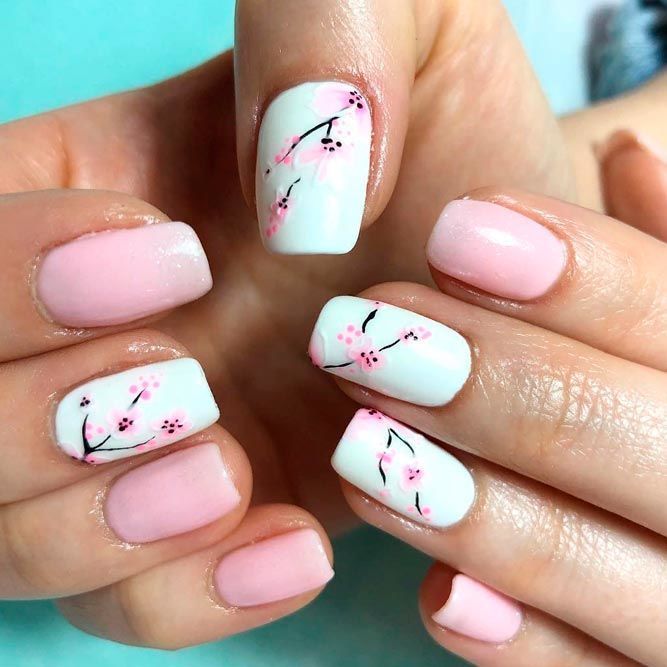
Cherry Blossoms
Paint your nails with a light base color. Use a thin brush to paint small branches, then add tiny pink blossoms and a dot of yellow or white in the center of each.
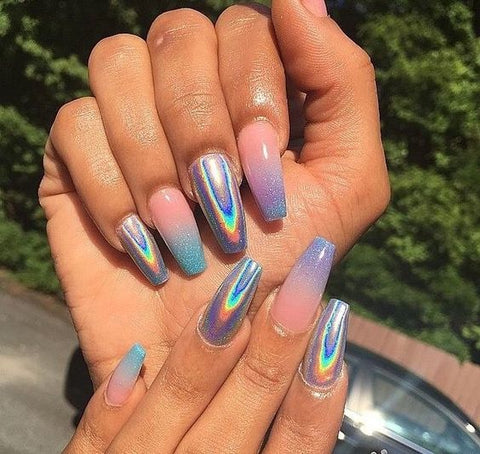
Holographic Nails
Apply a holographic nail polish for a futuristic look. These polishes have fine iridescent particles that shimmer and change color in the light.
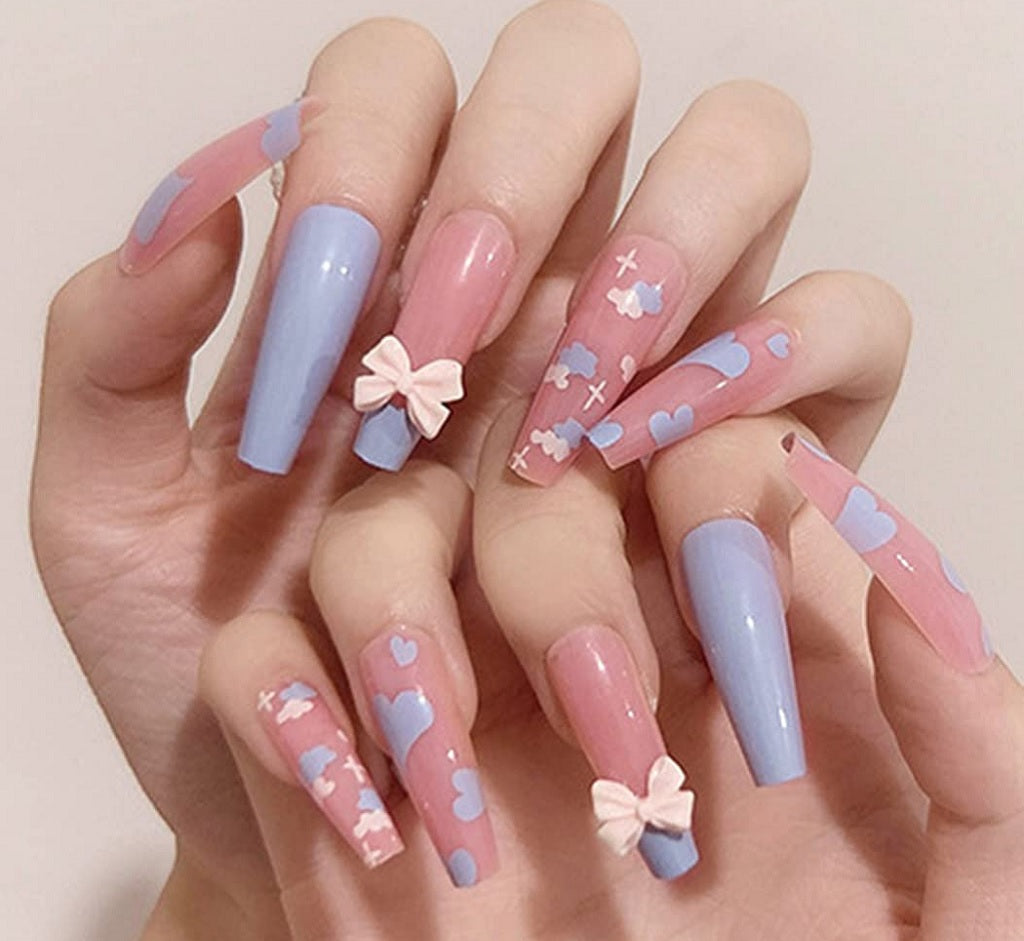
3D Nail Art
After your base polish, carefully attach small 3D elements like gems, beads, or tiny flowers with nail glue. This adds a tactile element to your nail art.
Each of these styles can be tailored to your preference, whether you like understated elegance or bold and vibrant designs. Remember to seal your designs with a top coat for longevity and shine.